Shaderpacks installation
note
Shaderpacks might be referred to as shaders in the following guide.
- Install selected shader mod or OptiFine. You may need a modloader.
warning
OptiFine is a highly unstable mod. We do not recommend using it with other mods. Try alternatives instead.
- Run Minecraft
note
This will create a new folder called
shaderpacksin the Minecraft game directory. - Download shaders from websites such as Modrinth or CurseForge.
- Move the downloaded shaders to the new
shaderpacksfolder in the Minecraft game directory.Opening the Minecraft game directory- Click the folder icon in Legacy Launcher.
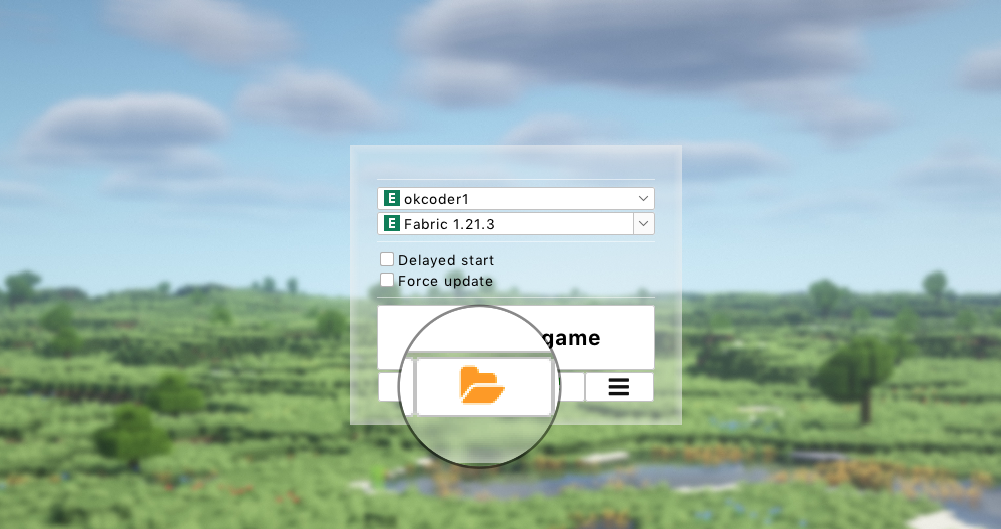
- Click
Open version-name directory.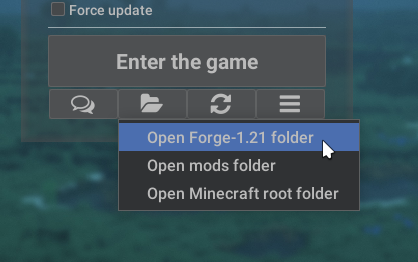
tipSome shaders mods allows you to "drag" a new shaderpack to
Shader Packsin-game menu instead. - Click the folder icon in Legacy Launcher.
- Run Minecraft (if closed) and click
Options.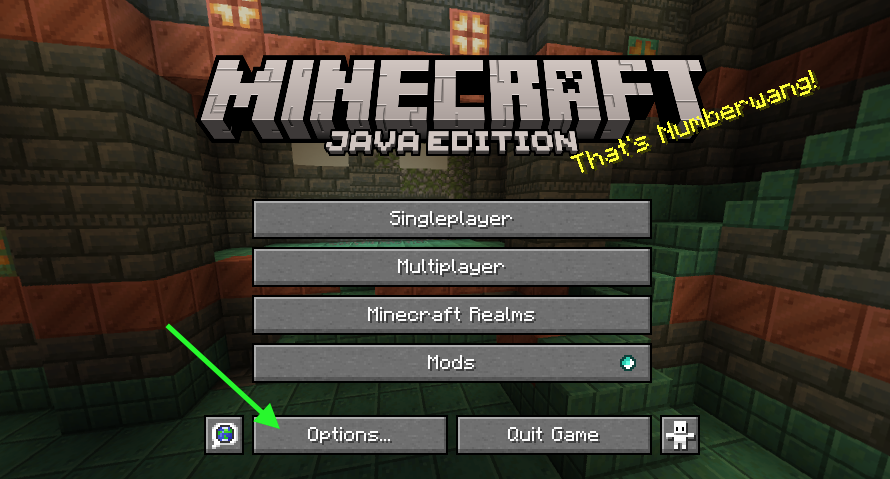
- Click
Video Settings.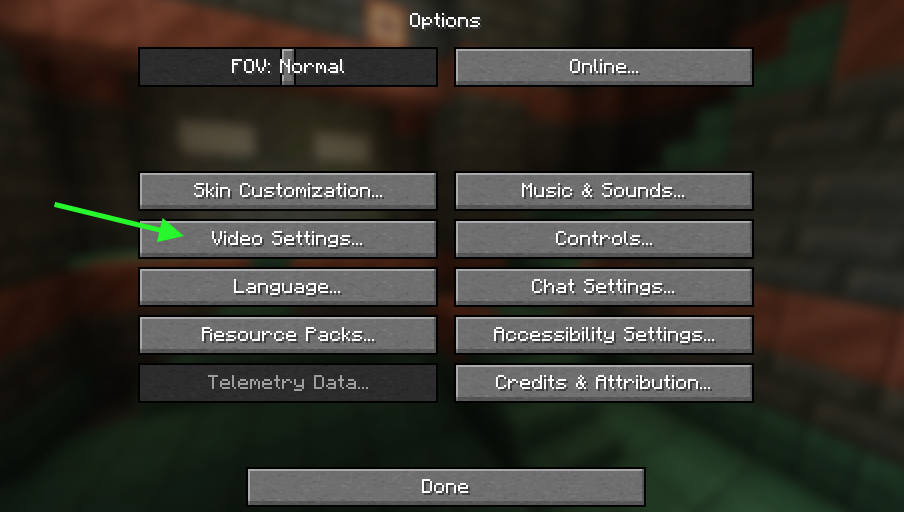 note
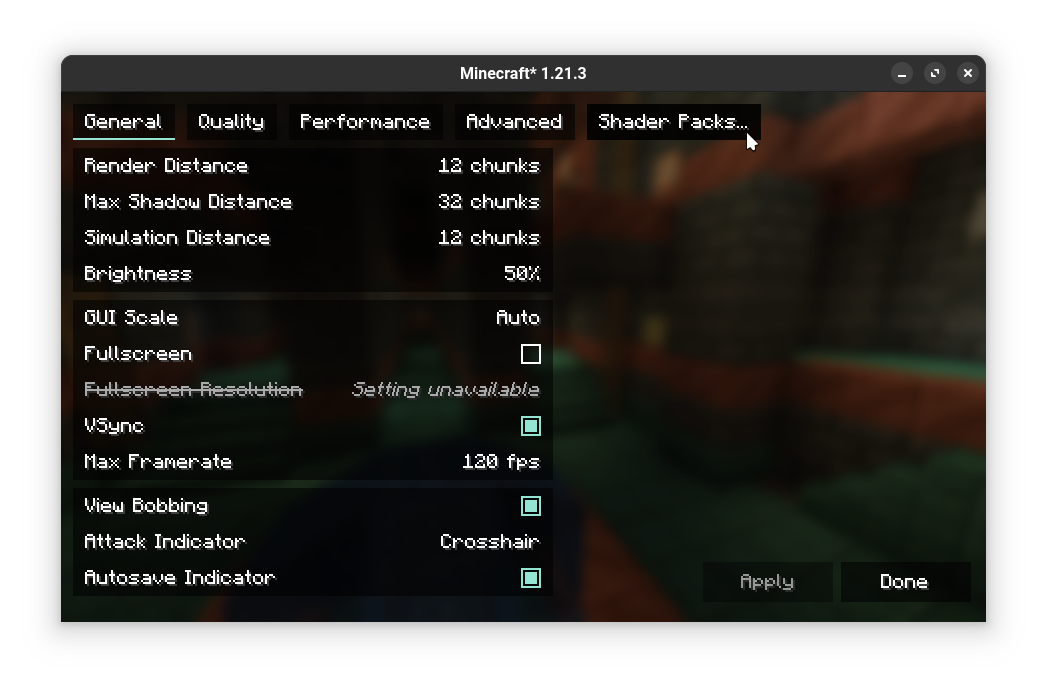
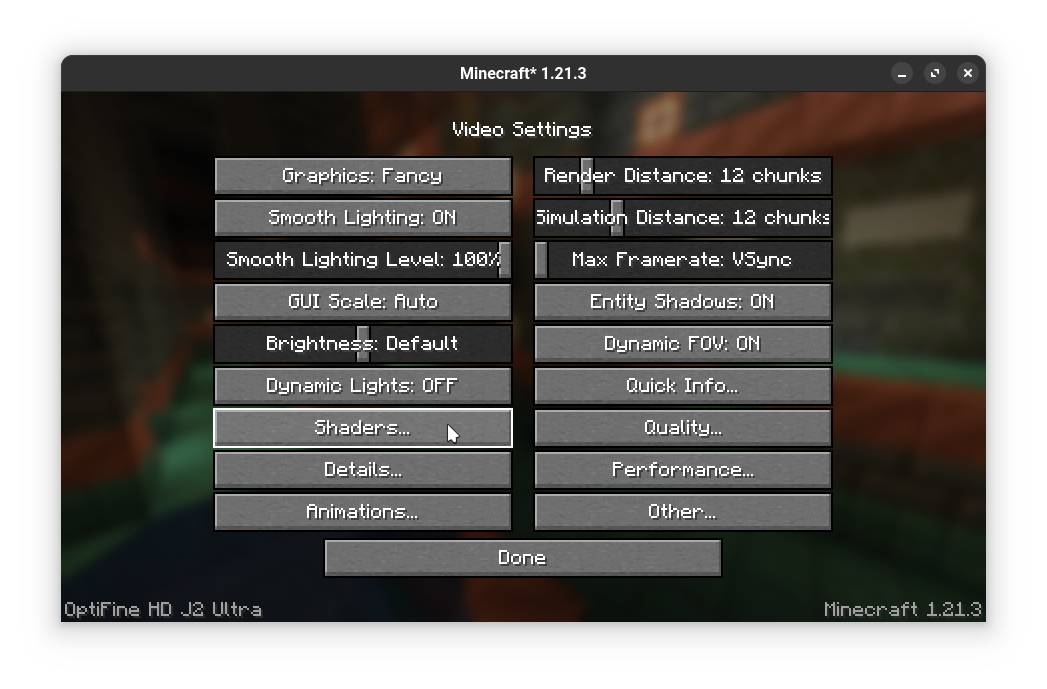
noteAfter installing most shaders mods, there will be a new
Video Settingslayout. This confirms that shaders mod is working. - Click the new
Shader Packs(orShaders) button.- Iris/Oculus
- OptiFine
- Click
Shaders: Disabledto enable shaders.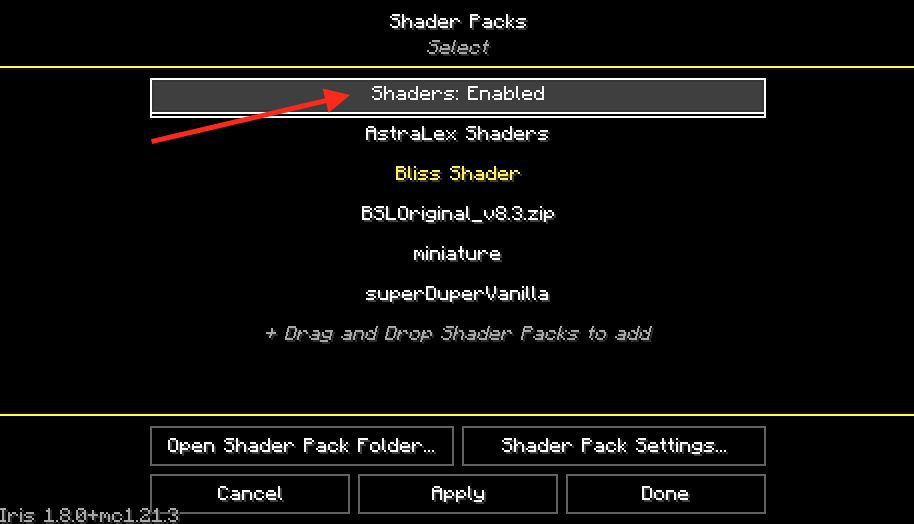 note
noteYou may ignore this if shaders are already set to "Enabled" or there is no such option
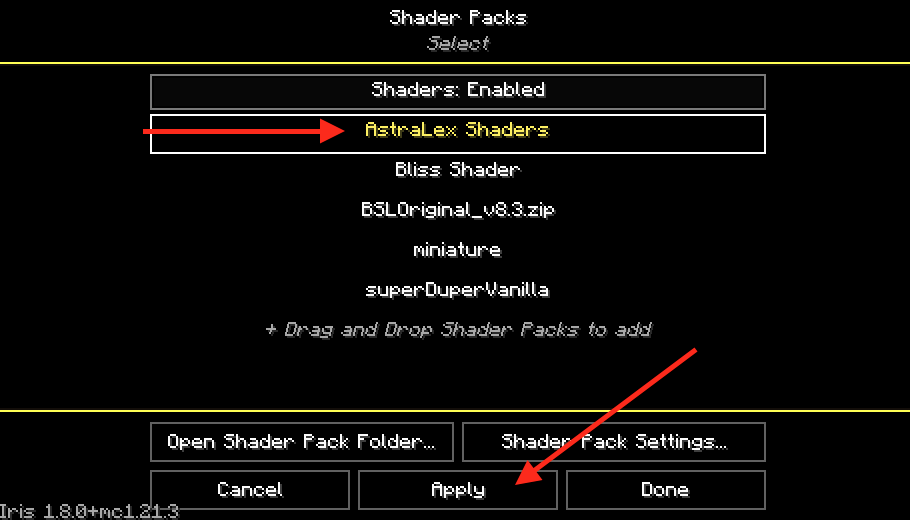
- Click the shader you want to enable (in this case
AstraLex Shaders). Selected shaderpack will be highlited. You may need to click "Apply" to apply selected shaderpack.- Iris/Oculus
- OptiFine
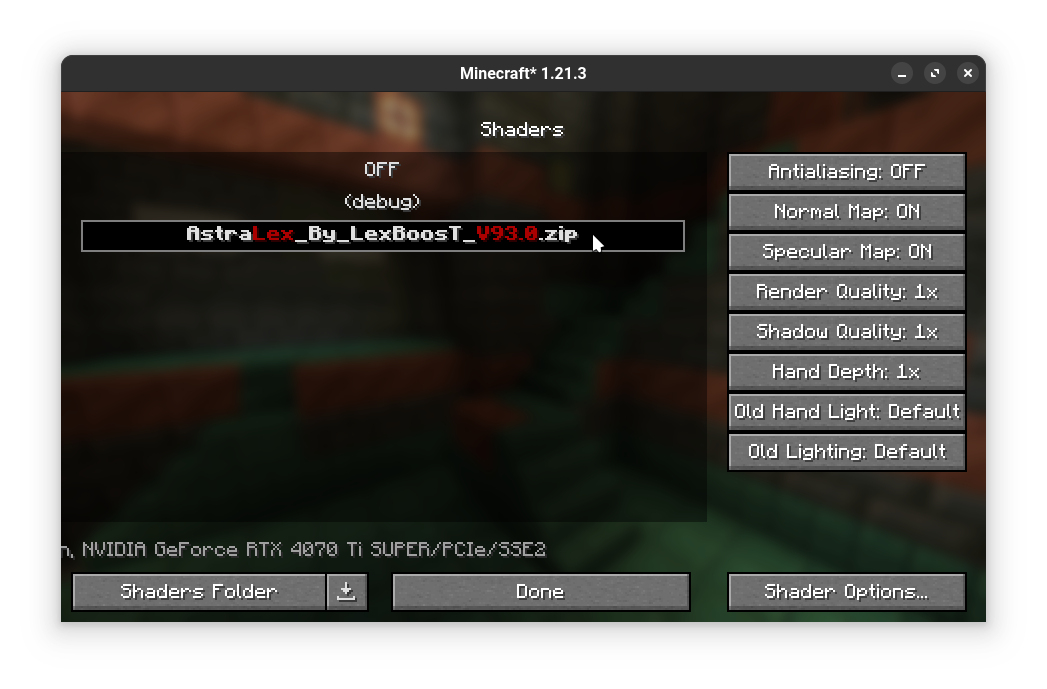
- Click
Done.
You can customize shaderpack settings using "Shader Pack Settings..." or "Shader Options..." button in Shaderpacks menu.